Translate
Whether you carry a smartphone or a professional mirrorless camera, travel photography is one of the most rewarding ways to document your journeys — this guide walks you through gear selection, technique, ethics, and image management so every trip produces photos worth keeping.
Why Travel Photography Matters Beyond the Snapshot
A well-made travel photograph does more than prove you were somewhere. It communicates light, mood, and the texture of a place in a way that a journal entry rarely can. It becomes a record for yourself, a story for others, and sometimes a genuine contribution to how a destination is understood by people who have never visited.
The good news is that the gap between beginner and experienced travel photographer has narrowed dramatically. Modern cameras — including the ones built into current smartphones — are technically capable of producing stunning images. What separates forgettable snapshots from compelling travel photographs is almost always intention, not equipment.
Choosing the Right Camera for the Road
There is no single best travel camera. The right choice depends on how much weight you are willing to carry, how deeply you want to control your images, and what you plan to do with the final pictures.
- Smartphone: Always with you, increasingly powerful, perfect for spontaneous moments and social sharing. Limitations show up in low light and when heavy cropping is needed.
- Compact or point-and-shoot: Lighter than an interchangeable-lens camera, often with a versatile zoom range. A good middle ground for travelers who want more control without a bag full of lenses.
- Mirrorless or DSLR: Maximum image quality and creative control. The trade-off is weight, bulk, and the attention a large camera can draw in sensitive environments.
- Action camera: Rugged, waterproof options excel for adventure travel — hiking, diving, cycling — where a conventional camera would be at risk.
Many experienced travel photographers carry two bodies: a capable smartphone for everyday moments and a dedicated camera for planned shoots. Whatever you choose, know it well before you leave home. Fumbling with menus costs you the shot.
Packing Smart: Protecting Your Gear
Camera equipment is valuable and fragile. Packing it well protects your investment and keeps security lines moving.
- Carry camera bodies and lenses in your carry-on luggage whenever possible. Checked baggage is subject to rough handling and theft.
- Use a dedicated camera bag or a padded insert inside a regular backpack. Hard cases offer maximum protection for checked lenses on longer expeditions.
- Bring more memory cards than you think you need, stored separately in case one is lost or fails.
- Pack a small cleaning kit: a blower, lens cloth, and sensor swabs if you change lenses in the field.
- Check voltage requirements and bring the correct adapters for your chargers. A universal adapter with USB-C ports covers most situations.
- Review your travel insurance policy — many standard policies exclude electronics or cap payouts at low amounts. Dedicated camera insurance or a rider is worth considering for expensive kits.
Airport security rules on lithium batteries vary by country and airline. Spare batteries generally must travel in carry-on, not checked bags — confirm current requirements with your carrier before you fly.
Understanding Light: The Single Most Important Variable
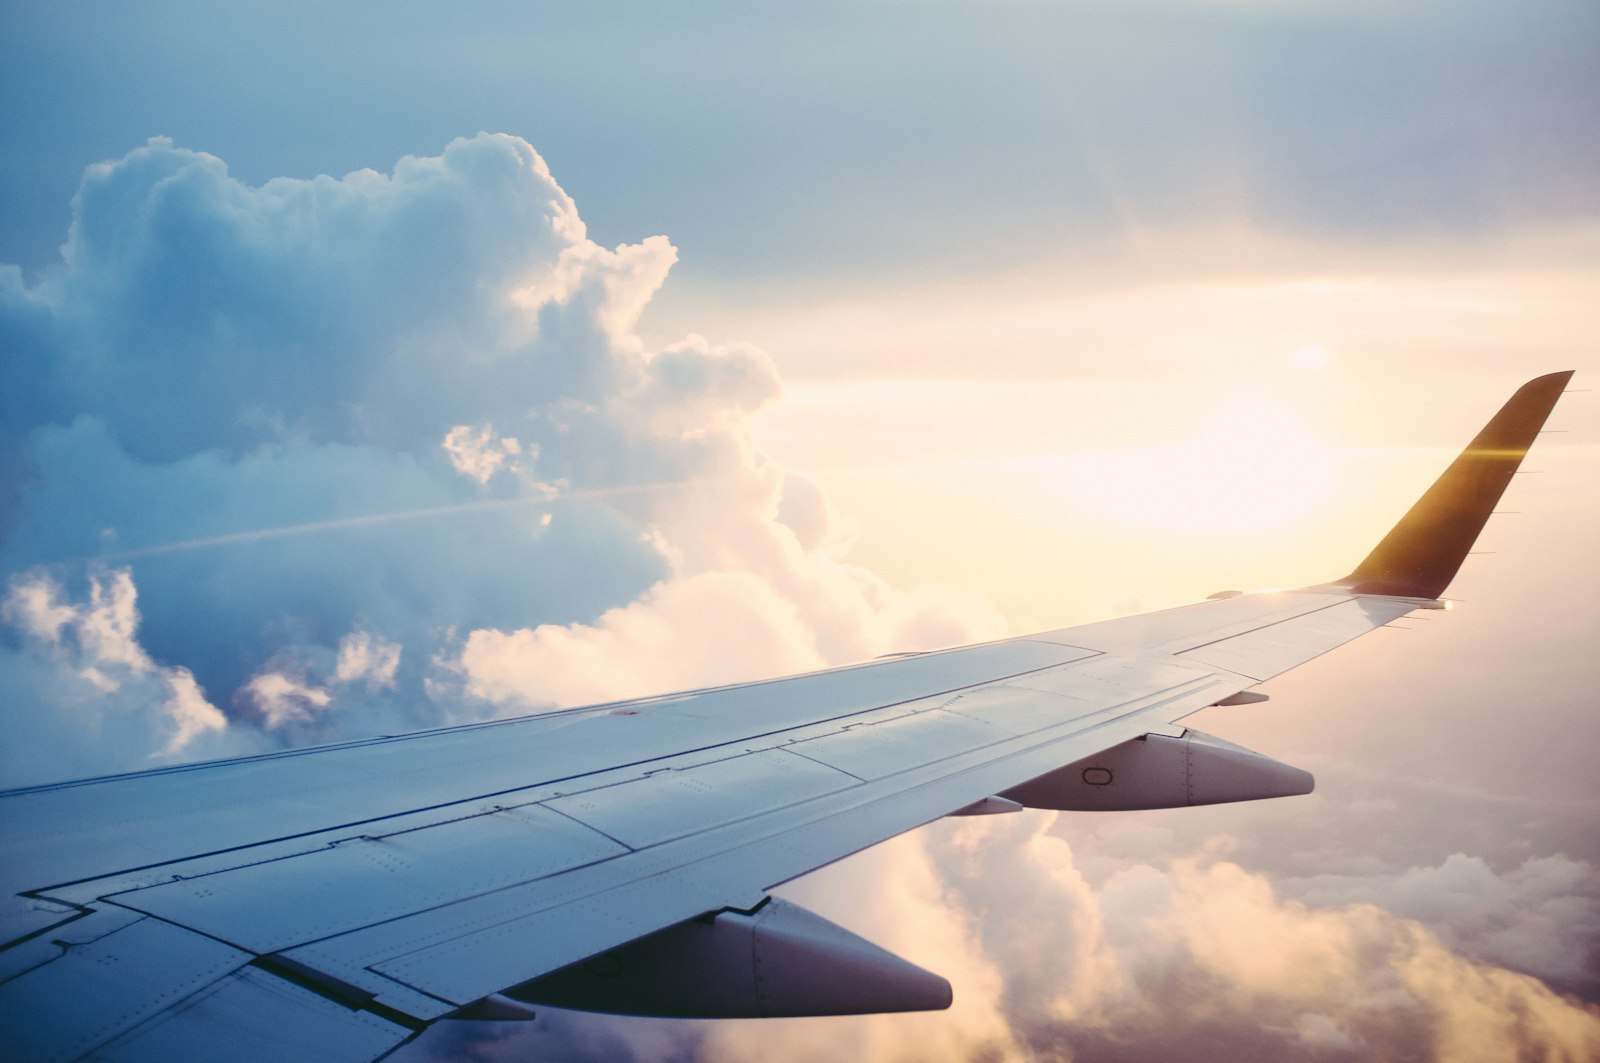
Professional photographers refer to the hour after sunrise and the hour before sunset as the golden hour for good reason. The sun is low, shadows are long and directional, and colors shift toward warm amber tones that flatter almost every subject — landscapes, architecture, and portraits alike.
The blue hour, the brief window just before sunrise and just after sunset, produces a soft, even, cool-toned light that works especially well for city scenes and coastal views.
Harsh midday sun creates deep, unflattering shadows and blows out highlights. When you cannot avoid shooting at midday, look for open shade — the shadow side of a building or a canopy of trees — which provides diffused, even light without the harshness.
Overcast days, often dismissed by beginners, act like a giant softbox. Flat, even light is ideal for photographing markets, interiors, and people without squinting.
Composition Fundamentals That Travel Well
Good composition is transferable across every destination. A few principles applied consistently will lift the quality of your images immediately.
- Rule of thirds: Place your main subject off-center — at one of the intersections of an imaginary 3×3 grid — rather than dead center. Most cameras can display this grid on-screen.
- Leading lines: Roads, rivers, fences, and shorelines naturally draw the eye through the frame. Position them intentionally to guide the viewer toward your subject.
- Foreground interest: Including something in the near foreground — a flower, a stone, a boat — adds depth and places the viewer inside the scene.
- Framing: Use doorways, arches, tree branches, or windows to frame your subject and focus attention.
- Simplify: Move closer, change your angle, or wait for a cluttered background to clear. Busy, distracting backgrounds are one of the most common problems in travel photography.
Rules exist to be broken, but you should understand why you are breaking them. A centered subject works beautifully with a perfectly symmetrical subject. Experiment deliberately rather than randomly.
Photographing People: Ethics and Approach
Images of people — vendors, children, pilgrims, locals going about their day — are often the most powerful travel photographs. They are also the category that demands the most ethical consideration.
Ask permission whenever it is practical. A smile, a gesture toward your camera, and a nod of acknowledgment go a long way across language barriers. Many people are happy to be photographed; many are not. Respect both responses without negotiation or pressure.
Be especially cautious when photographing children. In many countries, photographing minors — particularly in or near schools, religious sites, or impoverished communities — raises serious ethical and sometimes legal concerns. When in doubt, do not photograph children without explicit parental consent.
Consider what you will do with an image before you take it. Posting a photograph that presents a person in a vulnerable or undignified light — even unintentionally — can cause real harm. Ask yourself whether the image respects the subject's dignity.
Some photographers offer to share images with subjects on the spot, via a phone screen or a printed Polaroid. This creates a genuine exchange rather than a transactional extraction.
Respecting Laws and Local Customs
Photography laws vary significantly between countries and even between specific sites. Restrictions are common at military installations, government buildings, airports, certain religious sites, and many museums. Signage is not always posted. When in doubt, ask before raising your camera.
Drone photography is subject to increasingly strict regulation in most countries and requires permits or is outright prohibited in many areas. Research local drone laws well before you travel — penalties for violations can be severe. Official civil aviation authority websites are the authoritative source for current rules.
Religious and ceremonial sites often have specific protocols. Photography during active worship services may be prohibited or considered deeply disrespectful even when not explicitly banned. Follow the lead of local attendees and posted instructions.
Practical Techniques for Common Travel Scenarios
Crowded Tourist Sites
Arrive early — often the most effective strategy for popular landmarks. Shoot from unusual angles or at close focal lengths to eliminate crowds from the frame. In post-processing, some photographers use multiple exposures and masking to remove moving people entirely, though this requires patience and software skill.
Interiors and Low Light
Use the widest aperture your lens allows, raise your ISO carefully (modern cameras handle high ISO well), and brace yourself against a wall or use a small travel tripod. Many museums prohibit flash, which is often counterproductive anyway.
Landscapes and Architecture
A small, lightweight travel tripod pays dividends for long-exposure shots, sunrise and sunset images, and interior architecture. Use your camera's self-timer or a remote shutter release to eliminate camera shake when pressing the shutter button.
Backing Up and Managing Your Images on the Road
The most common travel photography disaster is not a dropped camera — it is a lost or corrupted memory card containing an entire trip's worth of irreplaceable images. Build a backup habit from the first day.
- Copy cards to a laptop or portable hard drive each evening if possible.
- Use cloud backup services to upload images automatically when connected to Wi-Fi. Many photographers use two cloud services simultaneously.
- Do not format or delete cards until you have confirmed images are safely backed up in at least two places.
- Use high-quality, name-brand memory cards from reputable retailers. Counterfeit cards are common and fail unpredictably.
Post-Processing: Editing Without Overdoing It
Editing is a legitimate part of the photographic process — it always has been. The goal of good travel photo editing is to realize what you saw and felt in the moment, not to manufacture a scene that did not exist.
Basic adjustments — exposure, contrast, white balance, shadows, highlights, and a careful crop — transform a decent raw file into a polished image. Most editing software offers these tools; the learning curve is modest and the results are substantial.
Avoid heavy-handed filters and presets that strip images of their specificity and make every location look the same. Oversaturated skies, HDR haloes, and skin-smoothing that removes all texture date quickly and obscure what makes a place genuinely interesting.
Shoot in RAW format if your camera supports it. RAW files contain significantly more data than JPEGs and give you far greater latitude in editing, especially for exposure corrections and white balance adjustments.
Sharing Your Work Responsibly
Social media has made it easier than ever to share travel images, and with that reach comes responsibility. Geotagging a fragile or overcrowded destination can accelerate overtourism. Several well-known natural sites have been damaged or closed partly as a result of social media exposure. Consider whether sharing a precise location serves the place or harms it.
Credit other photographers whose work inspires yours. The travel photography community is small and collegial; building genuine relationships produces opportunities, feedback, and friendships that last beyond any single trip.
Frequently Asked Questions
Do I need an expensive camera to take great travel photos?
No. Composition, light, timing, and your relationship with your subject matter far more than sensor size or lens cost. A current-generation smartphone used thoughtfully will outperform an expensive camera used carelessly. Invest in understanding your equipment before investing in upgrading it.
How do I handle cultural sensitivity when I am unsure of local norms?
Observe before you photograph. Watch how locals interact with their space and with tourists. Ask your guide or a local contact. Default to restraint when you are uncertain, and always prioritize the dignity and comfort of the people around you over getting the shot.
What should I do if my camera or memory card is stolen or lost?
Report the theft to local police and obtain a report number for insurance purposes. Contact your travel insurance provider promptly — many policies have time limits on claims. Back up your images to cloud storage regularly so that stolen hardware does not mean lost photographs.
Are there resources on TravelerPulse.pro to help me plan photography-focused trips?
Yes. You can use My Travel Hub to organize your itinerary around golden-hour shoot times, travel logistics, and location research. Individual airport and destination pages include practical details — terminals, transportation, local conditions — that help you plan arrivals timed to the best light.
Conclusion
Travel photography rewards patience, curiosity, and respect — for your subject, for the places you visit, and for the people who call them home. No single guide replaces time spent actually making photographs, reviewing what worked and what did not, and returning with sharper eyes the next time. The best travel photographers are, first and foremost, genuinely curious travelers. Bring that curiosity, protect your gear, back up your images, and the photographs will follow.